“Bump, Set, Spike it, that’s the way we like it!”
If you’ve been to any indoor volleyball club tournament, I bet you’ve heard this chant coming from sidelined yet enthusiastic tweens and teens cheering on their teammates. Though the chant itself is dated, hailing from the days of nine players per side (of which I’m reminded often by nostalgic Baby Boomers), those three elements remain the same. Bump, set, spike will forever be the crux of the game.
We covered the bump. We covered the set. And now… the spike. Or more commonly referred to in the new millennium – the hit.
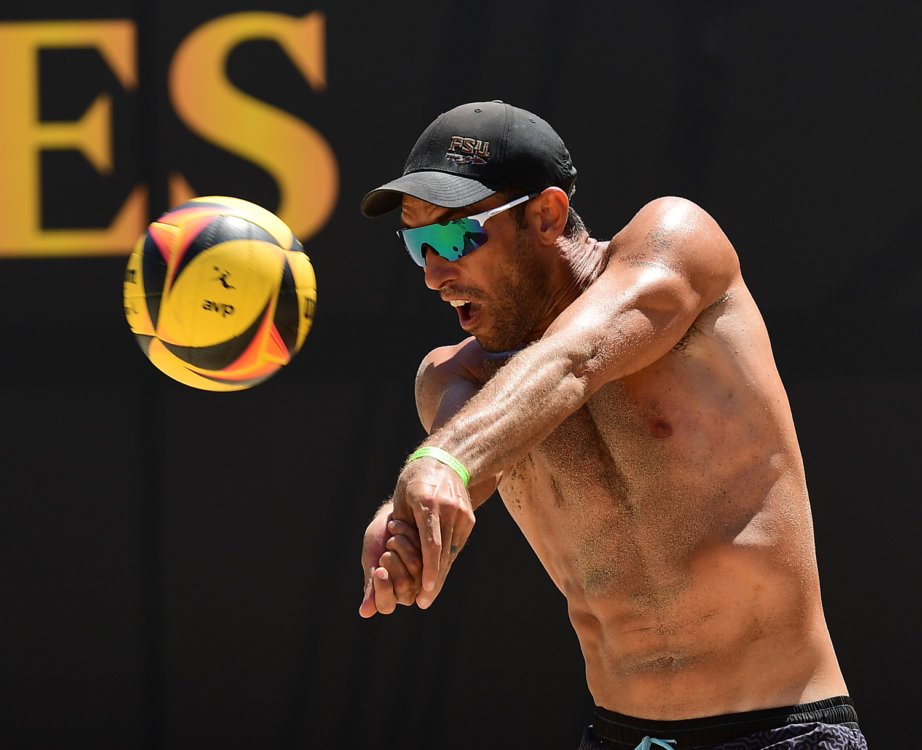
Let’s first differentiate attacking from hitting. Attacking is any offensive move on the ball – hit, pokey, jumbo, cut shot, high line, even a boop or set over the net. Those are all beneficial offensive moves, but their speed, trajectory, and method vary greatly. When referring to hitting, I mean the powerful, high-flying spikes (so maybe the term “spike” does have its place in the 2020’s).
Hitting is maybe the hardest skill to learn. I remember my sophomore year of high school – I had been 6’3″ for about two years and was finally gaining body awareness. I previously had no coordination and, therefore, no power behind my hit. I looked intimidating and blocked well, but I whiffed or barely hit every ball like a classic weekend warrior. My coaches Erin and Mick Oppy poured weeks into my hitting. They believed in me, endlessly ran me through footwork, and sped my arm swing up. Then one day, I properly thumped a ball. It’s been smooth(ish) sailing since then.
A hit starts with footwork, so that’s where we’ll start. Hitting footwork is called an approach. The standard approach is three steps. For righties, the steps are left-right-left. Lefties are the opposite, with right-left-right. Some take a four-step or more approach, but the final three steps should remain the same. I’ll continue my description as a right-handed, left side player (something of which I know much of).
In beach, the passer becomes the hitter immediately after they pass. It’s crucial to transition quickly into the offensive mindset, moving quickly out of the pass and into position to start your approach. Once you’ve passed a dime, you need to move to where you want to hit.
It’s hard to explain this in words because circumstances change from pass to pass and player to player. If you want a shoot set (a quick set to the antenna), you line up outside the sideline to take a diagonal approach to the opposite corner of the court. If you want a backset (a backward set taken behind your partner on the opposite side of the court), then you need to get behind your partner quickly. But most often, you’re lining up close to your partner, at a bit of a diagonal to face them and the opposite corner of the court.
Once your body is where it needs to be, it’s time to establish your footing. This is sometimes called the “point of hesitation,” the moment when you’re ready to start your approach and are waiting to see where your partner places their set. Righties – start with your right leg significantly in front of your left, as far apart as you’d be in stride. Your knees and upper body are both bent, ready to spring into action. Your arms are relaxed – swinging and free of tension at your sides while you wait.
Once your partner has set the ball, assuming you’re in the right position and they’ve given you a juicy set, start your approach. The steps are left-right-left, but the cadence is best written: leffffft – right/left. Translated: long and powerful left step, then quick 1-2 steps with your right and left feet. Let’s break that down more.

The initial left directional step establishes where you’ll take the all-important last two steps. If your partner’s set goes awry, the big left step takes you to the ball. If the set is perfect, this left step begins your momentum and takes you to where you’ll approach. The first left step is a big one, going in the direction your body is facing (which, from the left side, should be to the opposite corner from where you’re attacking). It’s a little slower than your second two steps, but it’s powerful and assertive.
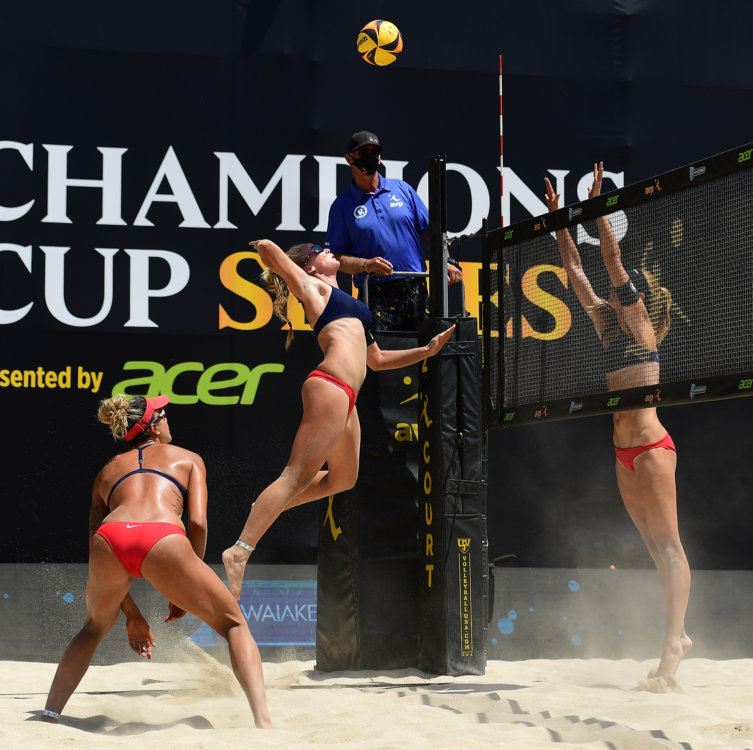
The final two steps are taken in tandem – right/left super fast. They’re also level with each other, side-by-side, about shoulder-width apart. Your final two steps should turn you to your partner and the set, almost a 45-degree angle to the net. From here, you’ll make your jump, which is why it’s important to go quickly, bend low, and explode from this perfectly executed stance. This body position gives you the most options to hit – either hard where you’re facing, pinky-down to your line, or wrist-away to the sharp angle.
Remember – this is ALL from the left side. Right-handed right side players should come at a straighter angle and not face the opposite corner so much. But lefties on the right side do face the corner and kick out more. Basically, hitting is tough to teach universally because there are four different options.
Okay, so that’s left side footwork. But of course, you use your arms to jump, your shoulder to swing, and your hand to hit the ball. So what are those body parts doing while your feet are moving?
At your point of hesitation, your arms are swinging loosely at your side. Once you take your initial left step, your arms swing forward in tandem. Once you take your last two steps – the 1-2 right/left quickies to establish your jumping base – your arms scoop back simultaneously behind your back. Then, as you jump, swing your arms forward and up to increase your jump height. Your arms are half the battle here – their momentum adds to your vertical in a big way.
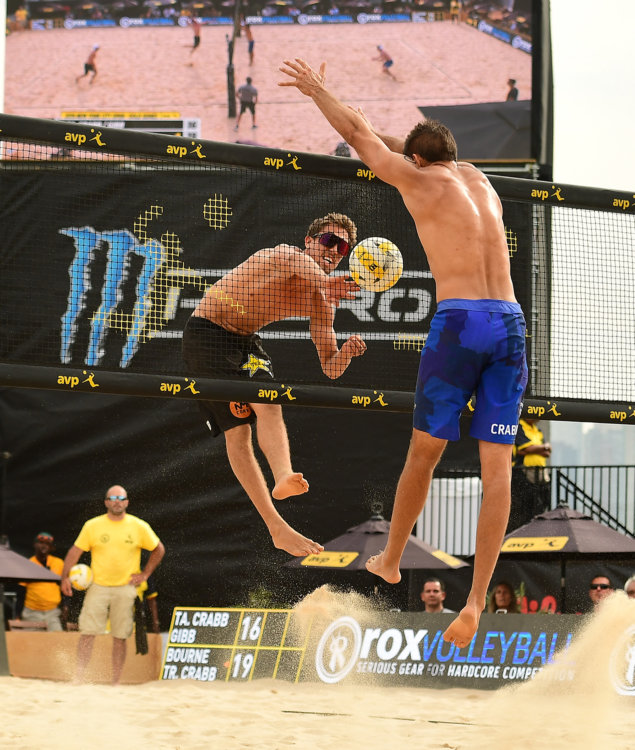
Remember, you’re jumping up, not forward. Your feet have already taken you to the ball. Now, you jump high to get over the net and your opponent’s block as much as possible. Vertical also gives you better angles to hit, especially if you’re not the tallest.
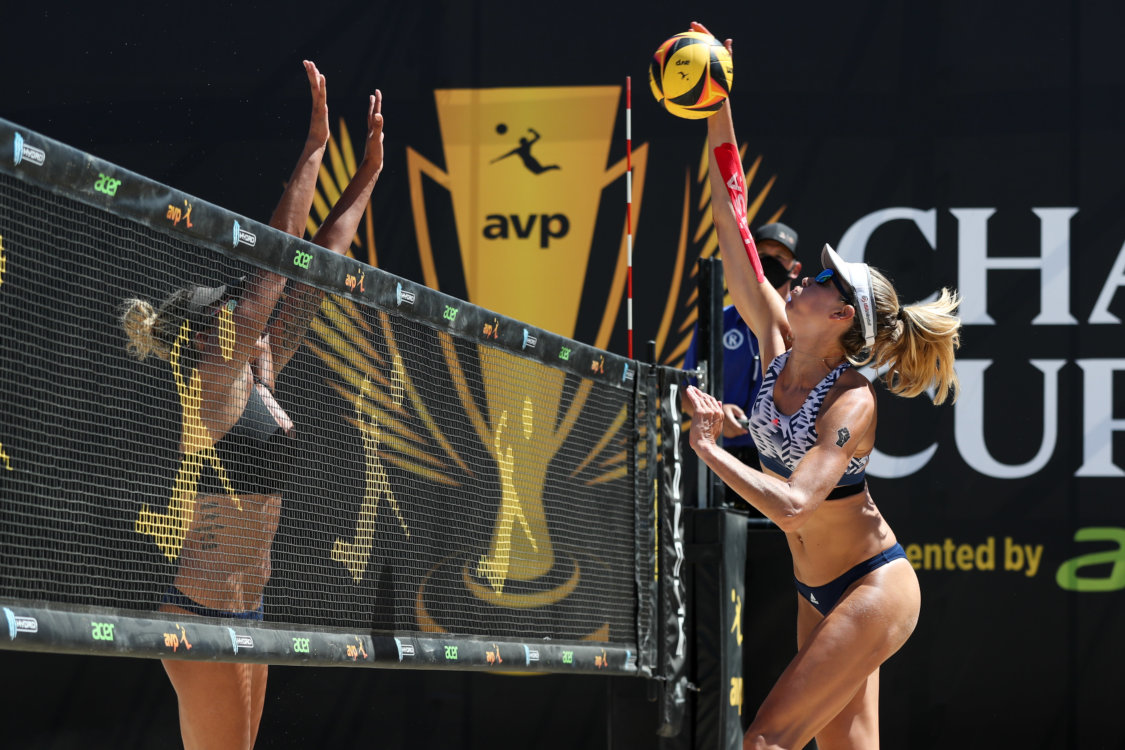
So you’re in the air with your arms high. From here, you create a bow-and-arrow-like arm stance. Your left hand is high, tracking the ball; your right hand is cocked back, ready to hit. Then, once the ball is at the peak of where your right hand can reach it, you swing through the ball. Your hand is big and wide and should hit on top of the ball and follow through in a downwards motion to put spin on it.
Okay, that’s everything. Confused? Probably, but that’s the best I got on paper. All the movements need to marry together at the exact right times to provide max potential. I didn’t even get into timing your approach, where you should take your final jump, and placement of the ball midair. Those elements are unique to each individual, and even more complicated to detail. Timing is almost a feeling, a gut instinct. It comes with repetition, which is why I have a little more grace for my fifteen-year-old self. And a lot of gratitude for my high school coaches.
As with all volleyball movements, my number one piece of advice is – get out there and do it! Spend hours running through your footwork. Practice your arm swing against a wall. Throw to yourself and hit over the net. All the top pros spent days and weeks and months honing these skills. It’s a long road, but once you get that first proper thump – there’s just nothing like it.
Except maybe a stuff block. But now I’m getting ahead of myself.